
Setup - Xcode
Apple Xcode is a professional level Integrated Development Environment (IDE) provided for free by Apple Inc. to develop Apple Macintosh and Apple iOS applications. In other words, it is overkill for most of the projects we do in the Computer Science program. Nevertheless, it is among the most commonly used IDEs in industry today.
An IDE is a development tool consisting of three components:
- Editor.
An editor is a tool designed to help the user create and make changes to a document.
A code editor is specifically designed to facilitate writing code.
Other common code editors include
emacs. - Compiler.
A compiler translates source code (such as Java or C++) into machine language
(such as an
.exeora.out). We useg++as the compiler in CS 124 and CS 165. - Debugger. A debugger is a program that allows the developer to pause execution of program while it is running to see what is going on inside. A debugger enables the developer to look at local variables, see which functions were called (called the "call stack"), peek at memory, and even make changes to the data of the program while it is running.
XCode is an IDE designed to support a wide variety of languages. The "first class" languages include Objective C, C++, and Java.
Setup
In order to get up-and-running with Xcode, you will need to copy your code to your Mac, install Xcode on your Mac, create a project, link relevant libraries, and run.
1. Copy your files
The easiest way to copy your Linux program files to your Mac is with a thumb drive. However, you can also use scp as well.
2. Install Xcode
Xcode is available for free on the Apple App Store. Search for “x code” and install.

3. Create a project
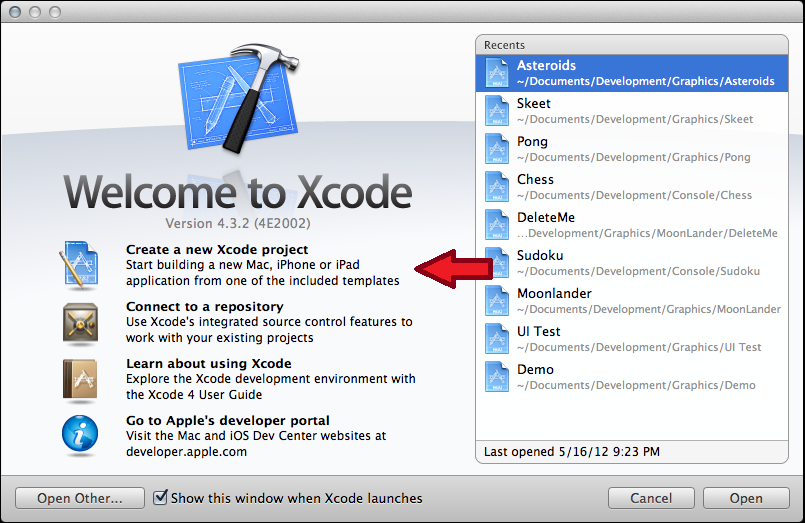
The first step in working with Xcode is to create a project. The Xcode splash screen helps with this process. Start by selecting the “Create a new Xcode project” option.
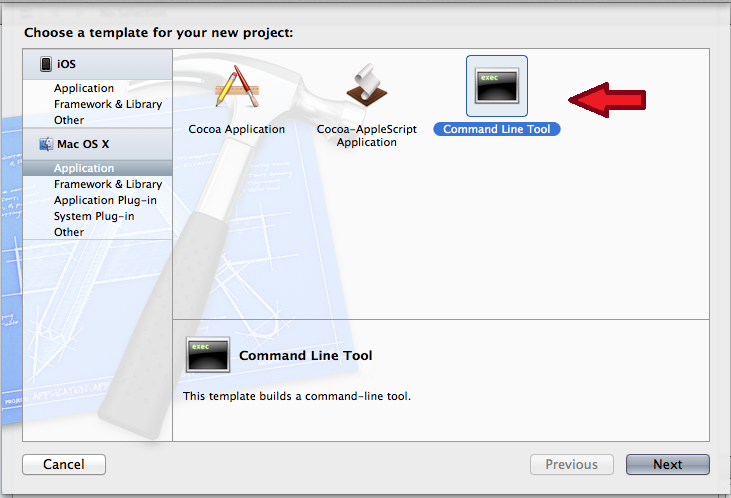
The next step is to select a “Command Line Tool.”
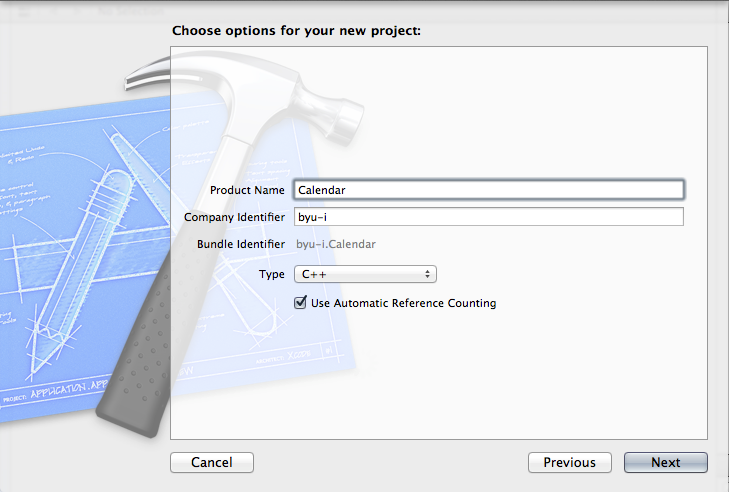
Following this we will need to name our project. I suggest you spend a few minutes coming up with a consistent naming convention so, when there are dozens of projects, code won’t get lost.
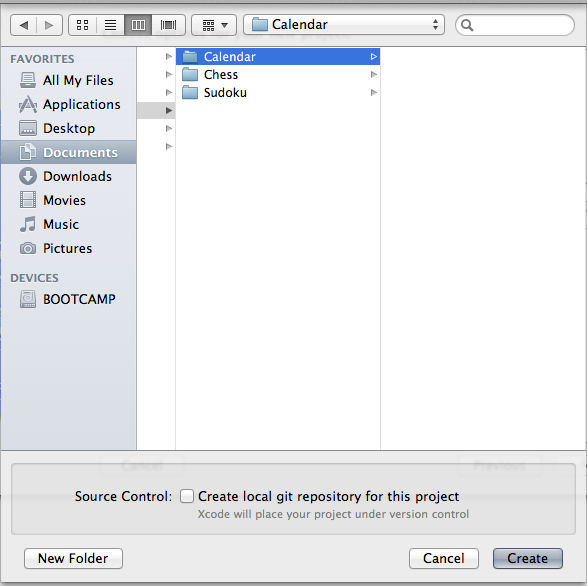
Xcode will then ask you where to save your files. I created a folder in Documents called Development. Under there, I have three sub-folders: Console, Graphics, and iOS. This program, the Calendar program from CS 124, will appear in the Console folder.
At this point, Xcode has created a template for me containing the Hello World program. Some of this will look familiar; some will be a bit strange:

Notice the non-BYU-Idaho coding style and the strange definition for argv.
The best thing to do here is to copy-past the code from your project:
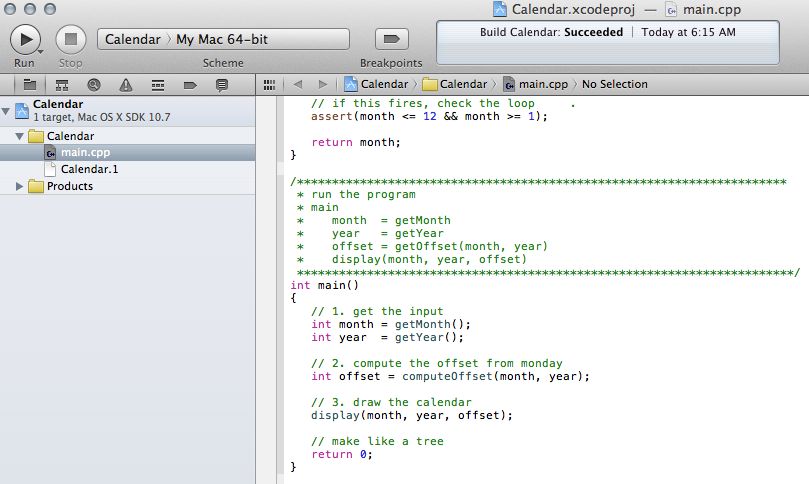
Once the code is in the project, press the “Play” button in the upper-left hand corner of the screen…

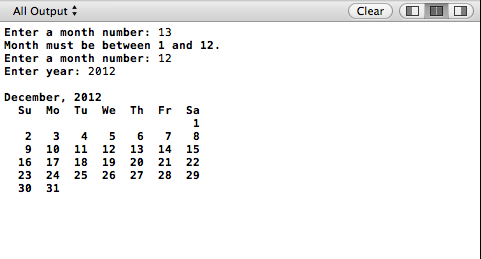
... and the program will execute ...
4. Linking in OpenGL
Often we want to use sophisticated drawing libraries or other libraries to make our programs more full featured.
Xcode makes this easy.
First, it is necessary to bring in all the drawing libraries from CS 165 project 2
(uiDraw.h, uiDraw.cpp, uiInteract.h, uiInteract.cpp)
as well as the various source and header files.
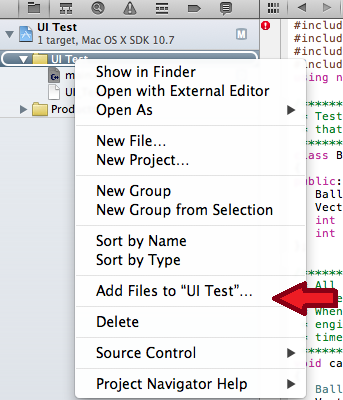
Once they are copied to your computer, Add them to your project:
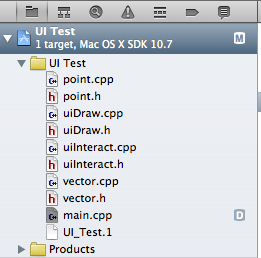
When you are done, you will have a large number of files in your project:
To include the OpenGL libraries, select the project name (highlighted in Blue above) and select “Build Phases” on the center pane. From here, expand the “Link Binary With Libraries.”
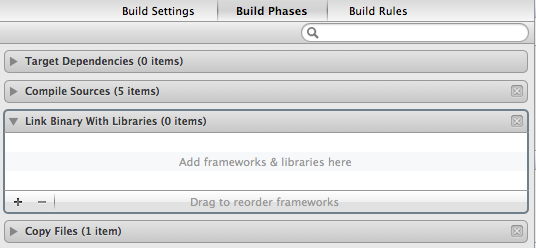
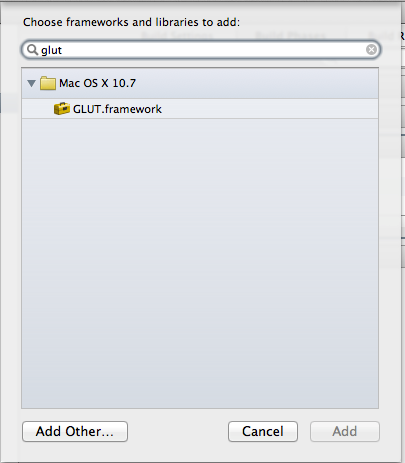
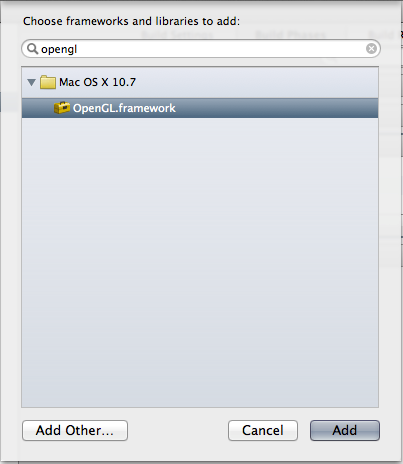
Two frameworks (another name for libraries) need to be selected “GLUT.framework” and “OpenGL.framework.” You can find these by searching for “glut” and “opengl.”
When you are finished, both frameworks will be listed in your project:

Finally, make sure you set the appropriate #defines in uiDraw.cpp and uiInteract.cpp:
        //#define LINUX

        #define MAC_XCODE

        //#define WIN_VISUAL_STUDIO
Now you are ready to compile and run.